docs/en/latest/plugins/wolf-rbac.md
The wolf-rbac Plugin provides a role-based access control system with wolf to a Route or a Service. This Plugin can be used with a Consumer.
| Name | Type | Required | Default | Description |
|---|---|---|---|---|
| server | string | False | "http://127.0.0.1:12180" | Service address of wolf server. |
| appid | string | False | "unset" | App id added in wolf console. This field supports saving the value in Secret Manager using the APISIX Secret resource. |
| header_prefix | string | False | "X-" | Prefix for a custom HTTP header. After authentication is successful, three headers will be added to the request header (for backend) and response header (for frontend) namely: X-UserId, X-Username, and X-Nickname. |
This Plugin will add the following endpoints when enabled:
/apisix/plugin/wolf-rbac/login/apisix/plugin/wolf-rbac/change_pwd/apisix/plugin/wolf-rbac/user_info:::note
You may need to use the public-api Plugin to expose this endpoint.
:::
To use this Plugin, you have to first install wolf and start it.
Once you have done that you need to add application, admin, normal user, permission, resource and user authorize to the wolf-console.
You need to first configure the Plugin on a Consumer:
:::note
You can fetch the admin_key from config.yaml and save to an environment variable with the following command:
admin_key=$(yq '.deployment.admin.admin_key[0].key' conf/config.yaml | sed 's/"//g')
:::
curl http://127.0.0.1:9180/apisix/admin/consumers  -H "X-API-KEY: $admin_key" -X PUT -d '
{
  "username":"wolf_rbac",
  "plugins":{
    "wolf-rbac":{
      "server":"http://127.0.0.1:12180",
      "appid":"restful"
    }
  },
  "desc":"wolf-rbac"
}'
:::note
The appid added in the configuration should already exist in wolf.
:::
You can now add the Plugin to a Route or a Service:
curl http://127.0.0.1:9180/apisix/admin/routes/1  -H "X-API-KEY: $admin_key" -X PUT -d '
{
    "methods": ["GET"],
    "uri": "/*",
    "plugins": {
        "wolf-rbac": {}
    },
    "upstream": {
        "type": "roundrobin",
        "nodes": {
            "www.baidu.com:80": 1
        }
    }
}'
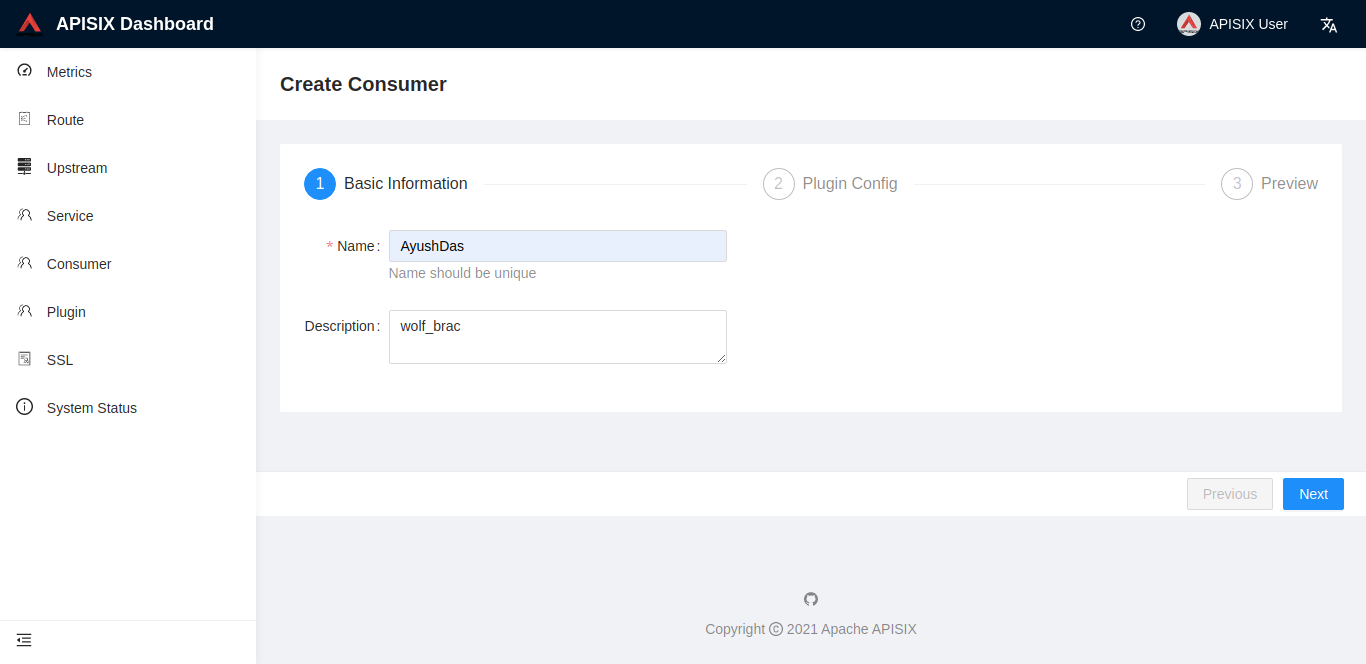
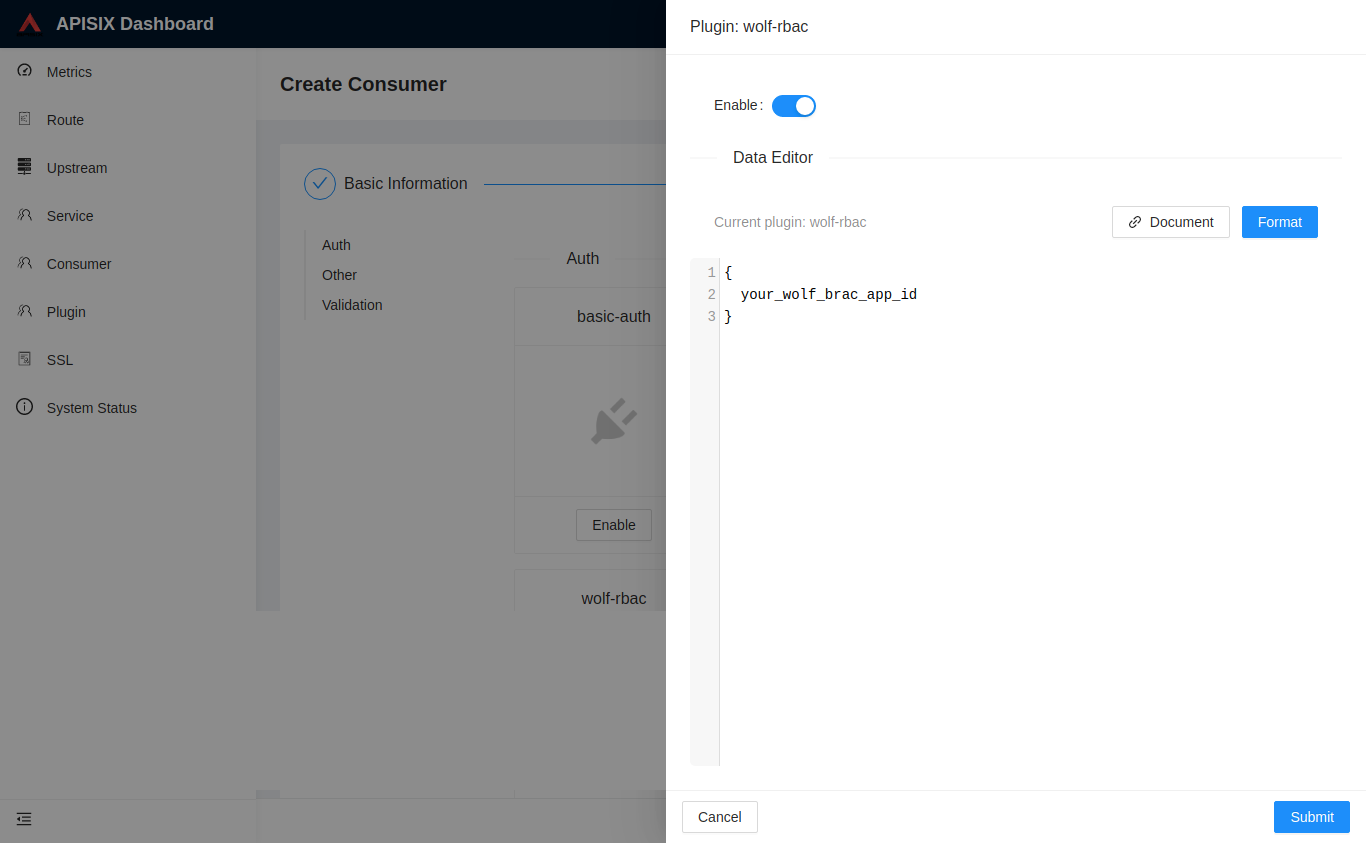
You can also use the APISIX Dashboard to complete the operation through a web UI.
<!--   -->You can use the public-api Plugin to expose the API:
curl http://127.0.0.1:9180/apisix/admin/routes/wal -H "X-API-KEY: $admin_key" -X PUT -d '
{
    "uri": "/apisix/plugin/wolf-rbac/login",
    "plugins": {
        "public-api": {}
    }
}'
Similarly, you can setup the Routes for change_pwd and user_info.
You can now login and get a wolf rbac_token:
curl http://127.0.0.1:9080/apisix/plugin/wolf-rbac/login -i \
-H "Content-Type: application/json" \
-d '{"appid": "restful", "username":"test", "password":"user-password", "authType":1}'
HTTP/1.1 200 OK
Date: Wed, 24 Jul 2019 10:33:31 GMT
Content-Type: text/plain
Transfer-Encoding: chunked
Connection: keep-alive
Server: APISIX web server
{"rbac_token":"V1#restful#eyJhbGciOiJIUzI1NiIsInR5cCI6IkpXVCJ9.eyJpZCI6NzQ5LCJ1c2VybmFtZSI6InRlc3QiLCJtYW5hZ2VyIjoiIiwiYXBwaWQiOiJyZXN0ZnVsIiwiaWF0IjoxNTc5NDQ5ODQxLCJleHAiOjE1ODAwNTQ2NDF9.n2-830zbhrEh6OAxn4K_yYtg5pqfmjpZAjoQXgtcuts","user_info":{"nickname":"test","username":"test","id":"749"}}
:::note
The appid, username, and password must be configured in the wolf system.
authType is the authentication type—1 for password authentication (default) and 2 for LDAP authentication (v0.5.0+).
:::
You can also make a post request with x-www-form-urlencoded instead of JSON:
curl http://127.0.0.1:9080/apisix/plugin/wolf-rbac/login -i \
-H "Content-Type: application/x-www-form-urlencoded" \
-d 'appid=restful&username=test&password=user-password'
Now you can test the Route:
curl http://127.0.0.1:9080/ -H"Host: www.baidu.com" -i
HTTP/1.1 401 Unauthorized
...
{"message":"Missing rbac token in request"}
Authorization header:curl http://127.0.0.1:9080/ -H"Host: www.baidu.com" \
-H 'Authorization: V1#restful#eyJhbGciOiJIUzI1NiIsInR5cCI6IkpXVCJ9.eyJpZCI6NzQ5LCJ1c2VybmFtZSI6InRlc3QiLCJtYW5hZ2VyIjoiIiwiYXBwaWQiOiJyZXN0ZnVsIiwiaWF0IjoxNTc5NDQ5ODQxLCJleHAiOjE1ODAwNTQ2NDF9.n2-830zbhrEh6OAxn4K_yYtg5pqfmjpZAjoQXgtcuts' -i
HTTP/1.1 200 OK

<!DOCTYPE html>
x-rbac-token header:curl http://127.0.0.1:9080/ -H"Host: www.baidu.com" \
-H 'x-rbac-token: V1#restful#eyJhbGciOiJIUzI1NiIsInR5cCI6IkpXVCJ9.eyJpZCI6NzQ5LCJ1c2VybmFtZSI6InRlc3QiLCJtYW5hZ2VyIjoiIiwiYXBwaWQiOiJyZXN0ZnVsIiwiaWF0IjoxNTc5NDQ5ODQxLCJleHAiOjE1ODAwNTQ2NDF9.n2-830zbhrEh6OAxn4K_yYtg5pqfmjpZAjoQXgtcuts' -i
HTTP/1.1 200 OK

<!DOCTYPE html>
curl 'http://127.0.0.1:9080?rbac_token=V1%23restful%23eyJhbGciOiJIUzI1NiIsInR5cCI6IkpXVCJ9.eyJpZCI6NzQ5LCJ1c2VybmFtZSI6InRlc3QiLCJtYW5hZ2VyIjoiIiwiYXBwaWQiOiJyZXN0ZnVsIiwiaWF0IjoxNTc5NDQ5ODQxLCJleHAiOjE1ODAwNTQ2NDF9.n2-830zbhrEh6OAxn4K_yYtg5pqfmjpZAjoQXgtcuts' -H"Host: www.baidu.com" -i
HTTP/1.1 200 OK

<!DOCTYPE html>
curl http://127.0.0.1:9080 -H"Host: www.baidu.com" \
--cookie x-rbac-token=V1#restful#eyJhbGciOiJIUzI1NiIsInR5cCI6IkpXVCJ9.eyJpZCI6NzQ5LCJ1c2VybmFtZSI6InRlc3QiLCJtYW5hZ2VyIjoiIiwiYXBwaWQiOiJyZXN0ZnVsIiwiaWF0IjoxNTc5NDQ5ODQxLCJleHAiOjE1ODAwNTQ2NDF9.n2-830zbhrEh6OAxn4K_yYtg5pqfmjpZAjoQXgtcuts -i
HTTP/1.1 200 OK

<!DOCTYPE html>
And to get a user information:
curl http://127.0.0.1:9080/apisix/plugin/wolf-rbac/user_info \
--cookie x-rbac-token=V1#restful#eyJhbGciOiJIUzI1NiIsInR5cCI6IkpXVCJ9.eyJpZCI6NzQ5LCJ1c2VybmFtZSI6InRlc3QiLCJtYW5hZ2VyIjoiIiwiYXBwaWQiOiJyZXN0ZnVsIiwiaWF0IjoxNTc5NDQ5ODQxLCJleHAiOjE1ODAwNTQ2NDF9.n2-830zbhrEh6OAxn4K_yYtg5pqfmjpZAjoQXgtcuts -i
HTTP/1.1 200 OK
{
    "user_info":{
        "nickname":"test",
        "lastLogin":1582816780,
        "id":749,
        "username":"test",
        "appIDs":["restful"],
        "manager":"none",
        "permissions":{"USER_LIST":true},
        "profile":null,
        "roles":{},
        "createTime":1578820506,
        "email":""
    }
}
And to change a user's password:
curl http://127.0.0.1:9080/apisix/plugin/wolf-rbac/change_pwd \
-H "Content-Type: application/json" \
--cookie x-rbac-token=V1#restful#eyJhbGciOiJIUzI1NiIsInR5cCI6IkpXVCJ9.eyJpZCI6NzQ5LCJ1c2VybmFtZSI6InRlc3QiLCJtYW5hZ2VyIjoiIiwiYXBwaWQiOiJyZXN0ZnVsIiwiaWF0IjoxNTc5NDQ5ODQxLCJleHAiOjE1ODAwNTQ2NDF9.n2-830zbhrEh6OAxn4K_yYtg5pqfmjpZAjoQXgtcuts -i \
-X PUT -d '{"oldPassword": "old password", "newPassword": "new password"}'
HTTP/1.1 200 OK
{"message":"success to change password"}
To remove the wolf-rbac Plugin, you can delete the corresponding JSON configuration from the Plugin configuration. APISIX will automatically reload and you do not have to restart for this to take effect.
curl http://127.0.0.1:9180/apisix/admin/routes/1  -H "X-API-KEY: $admin_key" -X PUT -d '
{
    "methods": ["GET"],
    "uri": "/*",
    "plugins": {
    },
    "upstream": {
        "type": "roundrobin",
        "nodes": {
            "www.baidu.com:80": 1
        }
    }
}'